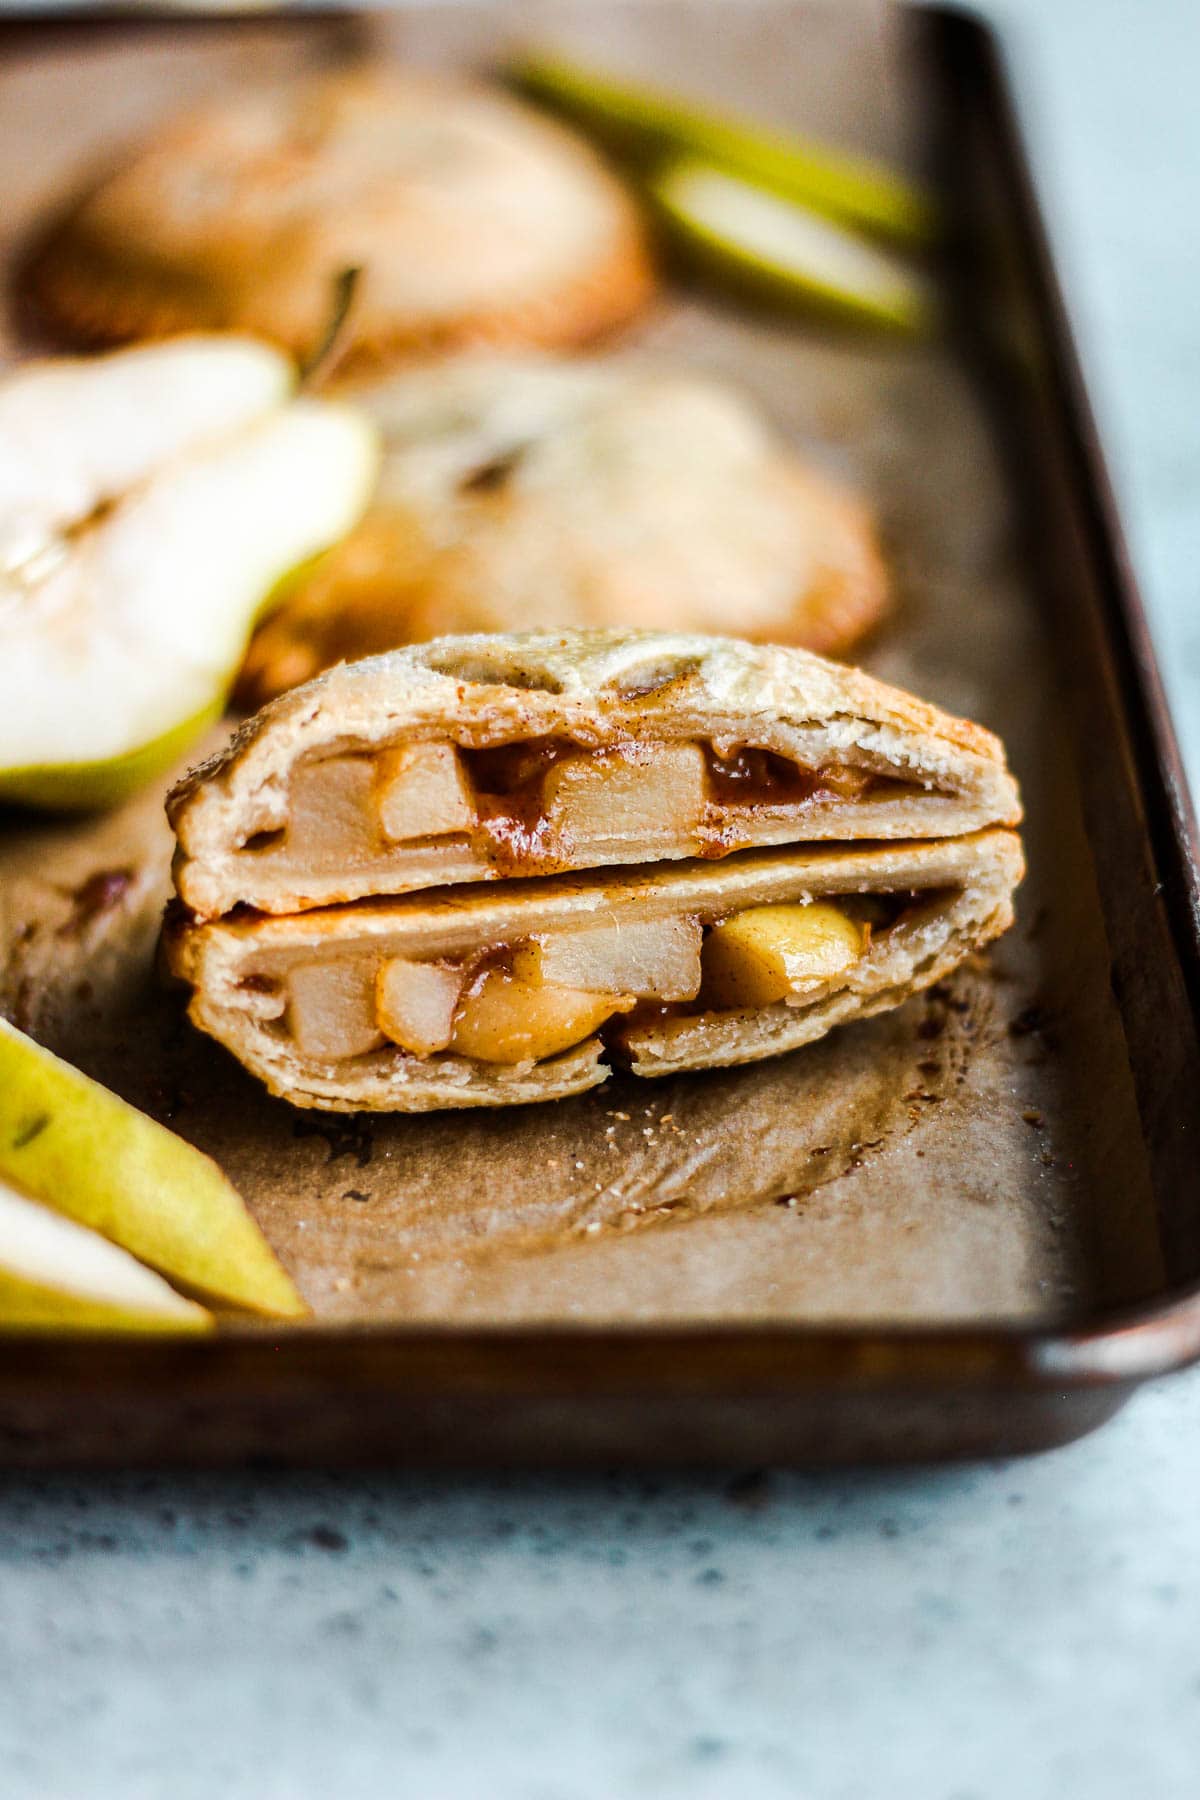
These pear hand pies take the effort out of baking a full-size pie and are jam-packed with warming, cozy flavors. These hand-held pies are made with store-bought pie crust and are filled with a homemade caramel pear filling that is perfectly spiced with cinnamon and ground ginger.
These cute mini pear pies are easy to make and are the perfect fall or holiday dessert to share with friends and family.

This is one of my favorite recipes to make when pears are in season. Pears are easy to find during the fall and winter months which also makes this recipe perfect for the holidays.
This post will give you all the tips and tricks on how to make easy pear hand pies.
Featured 5-star reviews:
Want to know what other people thought of this recipe? Check out these 5-star reviews left by our readers:
- "I appreciated the easy to follow step-by-step photos as this was my first time making miniature pies. Very tasty!" - Luke
- "YUM! Who doesn't love flaky pie crust and a juicy fruit filling?! These were wonderful." - Jillian
- "The pear mixture is sooo gooey and delicious. I made another batch of the filling to serve with oatmeal since everyone loved it so much." - Ella
This recipe is based on my easy apple hand pies. For this pear version, I added a touch more brown sugar and some vanilla extract to enhance the sweetness and flavor.
For more pear recipes, try these healthy pear muffins. These muffins are super moist and not overly sweet and they are dotted with delicious, juicy bites of pear!
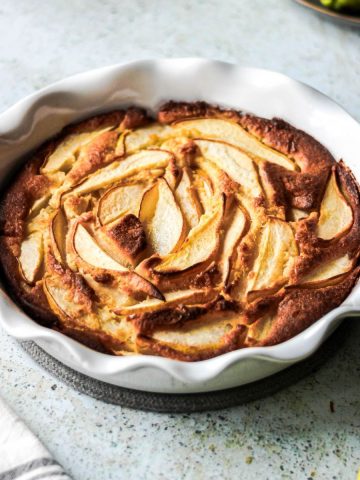
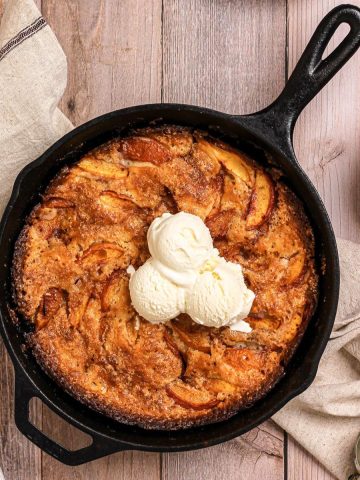
For an incredibly easy yet impressive dessert, try this pear cobbler recipe. If you still have extra ripe pears after making these hand pies, make this simple cobbler next on your list.
Jump to:
Why You'll Love This Recipe
- Made with store-bought crust. Who doesn't love a shortcut?! Use your favorite store-bought pie crust to make this recipe even simpler. Grab a gluten-free crust to make this recipe gluten-friendly.
- Filled with juicy pears. Pears have such a wonderful flavor on their own and we're going to enhance this with simple ingredients like brown sugar, cinnamon, and butter. It is almost a caramel-like filling that has the perfect consistency.
- Perfect holiday dessert. Pears are widely available during the fall and winter months which makes them a festive fruit to serve during the holiday season!
- A great alternative to a pear turnover. These pear pies are similar to pear turnovers, but they are made with simple pie crust instead of puff pastry.
- Simple ingredients. This recipe calls for pantry staple ingredients. You should only have to pick up some pie crust and pears from the store.
- Hand held and easy to eat. Instead of cutting into a pie dish and trying to get uniform slices of pie for your guests, arrange these compact pies on a pretty serving platter or tray and let them serve themselves! These individual pies are easy for people to eat, even kids! Think of them almost like a fancy pop tart.

Ingredients
- Pears, fresh or canned
- Brown sugar
- Cinnamon
- Ground ginger
- Lemon juice
- Cornstarch
- Salted butter
- Storebought or homemade pie crusts
- Egg, for egg wash
- Turbinado or granulated sugar
See the recipe card below for a full list of ingredients and measurements.

Substitutions
Need to make a substitution or missing an ingredient? Here are some ways you can alter this recipe to fit your unique dietary needs.
- Dairy-free or vegan? Use a vegan pie crust and plant-based stick butter in the pear filling. Substitute the egg wash for milk and maple syrup or melted vegan butter. (I have not tested this recipe with vegan ingredients.)
- Gluten-free? Use a gluten-free storebought pie crust or use your favorite gluten-free pie crust recipe. (I have yet to make this recipe with gluten-free ingredients.)
Variations
Here are a few ideas for customizing this recipe and making different flavor variations:
- Add additional spices like nutmeg or cardamom to the pear-filling mixture to add even more depth of flavor and a little spice.
- Sprinkle with cinnamon sugar before baking instead of using plain sugar to enhance the cinnamon flavor.
- Top the hand pies with extra pieces of pie crust for decoration. Use leaf cookie cutters to create cute shapes to place on top.
- Use a mix of both pears and apples to blend two delicious fall fruits into one dessert.
This recipe has not been tested with other substitutions or variations. If you replace or add any ingredients, please let us know how it turned out in the comments below!
How To Make Pear Hand Pies

Step 1: Prep the pears. Add the pear filling ingredients to a small pot and stir to combine.

Step 2: Heat filling ingredients over low to medium heat, stirring every few minutes, until they have softened and the juices begin to thicken.

Step 3: Remove the pot from heat and allow the pear filling to cool. If making a day in advance, transfer to a glass storage container once cool and store in the fridge.

Step 4: Roll out the pie crust and use a round cookie cutter or a small dish to make 4" wide circles out of the pie crust.

Step 5: Spoon about 3 tablespoons of pear filling into the center of half of the pie crust circles. Place the remaining pie crust circles on top of the one with filling to form the personal pies.

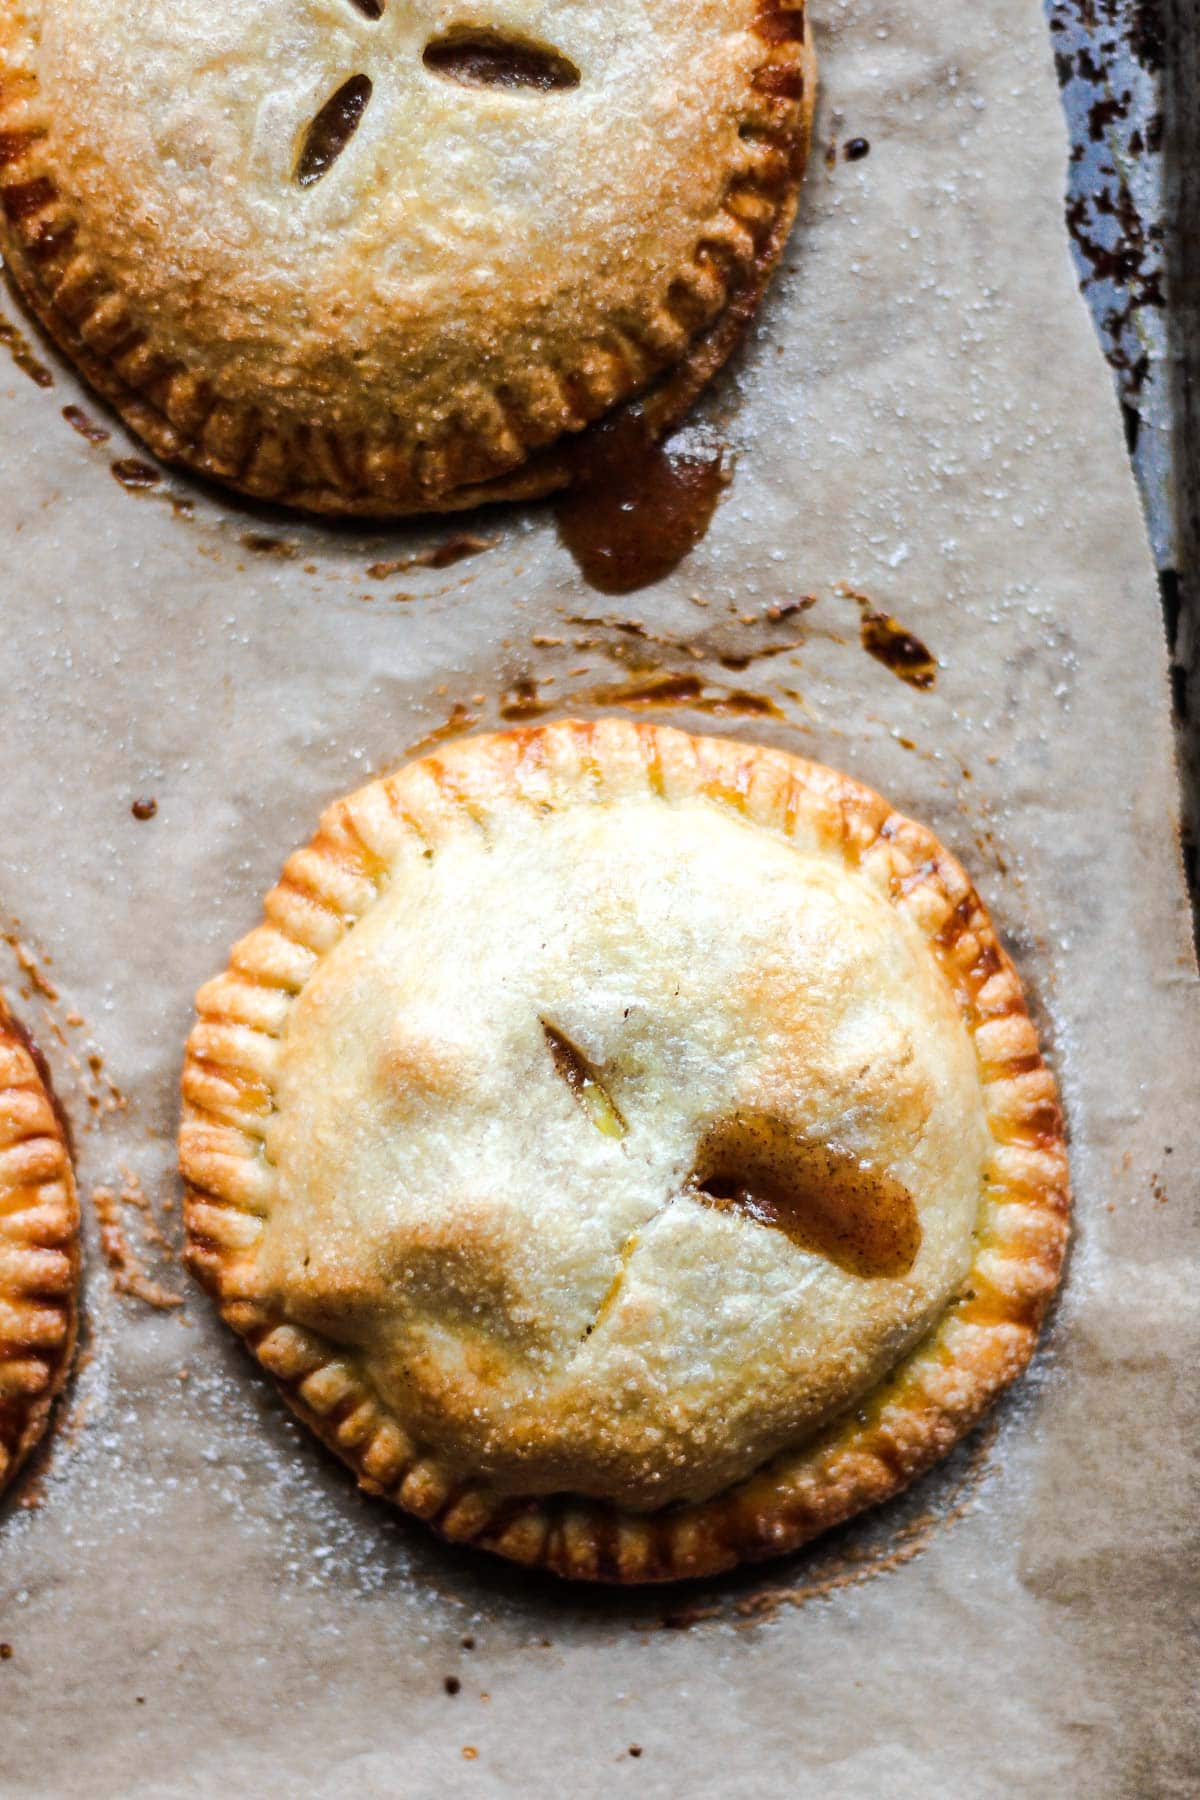
Step 6: Use a fork to score the edges together. Use a small sharp knife to make a few small cuts into the top of the pie crust.

Step 7: Chill the pies in the fridge for at least 30 minutes. Brush the tops of the prepared pies with egg wash and sprinkle with sugar.

Step 8: Bake according to the instructions on the recipe card. Let cool slightly before enjoying.
Expert Tips & Tricks
- Use firm, ripe pears for the best results. This will help the pears hold their shape while baking and create the best texture. Overly ripe, soft pears will not hold up as well.
- Use the side of a fork or knife to tap the edges of the pre-baked, assembled hand pies to clean up the edges. This will create a nice round shape and give the baked hand pies a more uniform, clean look.
- Chill the assembled hand pies before baking for best results.
- Use a small sharp knife to pierce three lines into the tops of the hand pies before baking. This allows steam to be released during baking. I recommend doing this step before adding the egg wash so you can get nice, clean cuts.

Frequently Asked Questions
Have a question about this recipe? Here are some additional tips and commonly asked questions:
No! You do not have to peel the pears for this recipe. I left the skins on and the pears soften while they bake so you won't even notice the skin. If you prefer to peel your fruit, feel free! Peeled pears are a little trickier to slice without the skin.
Either option works! I opted for a ready-to-use, pre-made crust to make this recipe super easy. If you have a reliable, homemade pie crust recipe that you love and you wish to use that, go right ahead!
Yes. You can freeze the unbaked pies to bake off later. Simply freeze the raw pies on a baking sheet before placing them in a storage bag in the freezer for up to 2 months. Add the egg wash and a sprinkle of sugar before baking.
You can also freeze the baked and cooled pies for up to 2 months. Reheat them in the oven when ready to serve.

Equipment
Here's a breakdown of the kitchen tools and equipment you'll need to make this recipe:
- Baking sheets
- Parchment paper
- A fork and a paring knife
- Rolling pin
- Cookie cutter or small bowl
- A small pot
- Measuring cups and spoons
Storage
Room Temperature
Store the baked and cooled individual pear pies at room temperature for 1-2 days.
Refrigerator Instructions
This pear pie recipe will last up to 5 days in the fridge. Store in an airtight container or arranged on a plate that is covered with foil, plastic wrap, or beeswax wrap.
More Recipes You'll Love
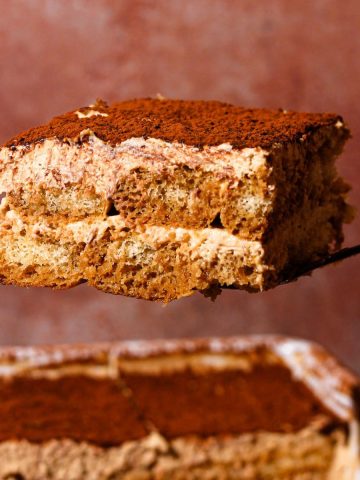
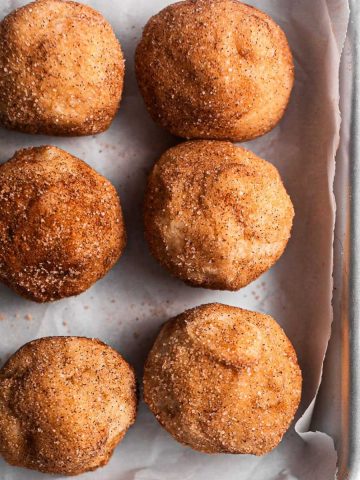
Looking for something else to make? Give these Baked Abundance recipes a try:


Recipe
Easy Ginger Pear Hand Pies

These pear hand pies take the effort out of baking a full-size pie and are jam-packed with warming, cozy flavors. These hand-held pies are made with store-bought pie crust and are filled with a homemade caramel-like pear filling that is perfectly spiced with cinnamon and ground ginger.
- Prep Time: 20
- Cook Time: 35
- Total Time: 60
- Yield: 7-9 1x
- Category: Pies
- Method: Bake
- Cuisine: American
Ingredients
Pear Filling:
- 3 heaping cups diced pears (about 3 small, firm ripe pears)
- ⅓ cup brown sugar, packed
- 1 teaspoon cinnamon
- ¼ teaspoon ground ginger*
- 1 tablespoon lemon juice
- 1 tablespoon cornstarch
- 2 tablespoons salted butter
Additional Ingredients:
- 3 store-bought or homemade pie crusts
- 1 egg yolk mixed with 1 teaspoon water, for egg wash*
- 3 tablespoons turbinado sugar or granulated sugar, for topping
Instructions
- Wash and dry about 3 ripe pears. Pears should be ripe but still slightly firm. Add the chopped pears and the remaining pie filling ingredients to a small pot and stir to combine.
- Heat the pie filling ingredients over low to medium heat, stirring every few minutes, until they have softened and the juices begin to thicken.
- Take your pie crust out of the fridge and let sit at room temperature until it has softened a bit and is workable (You can roll it out with a rolling pin fairly easily).
- Remove the pot from the heat and allow the pear filling to cool. If you are making the filling a day in advance, transfer it to a glass storage container once cooled and store in the fridge.
- Roll out the prepared pie crust and use a round cookie cutter or a small bowl to create roughly 4" wide circles out of the pie crust. You should be able to get about 4-5 circles from each of the three pie crusts. Then, take the leftover scraps of pie crust and roll them into a ball to roll out with your rolling pin to use to make additional circles.
- After using up as much of the pie crust as you can to create several 4” circles of dough, you should have a total of 14-18 circles from the dough. Make sure you have created an even number of circles, as one is for the bottom and one is for the top of each hand pie.
- Arrange half of the pie crust circles on two parchment-lined baking sheets. Spoon about 3 tablespoons of pear filling into the center of half of the pie crust circles. Place the remaining pie crust circles on top of the one with the filling to form the mini pies.
- Use a fork to score the edges of the pie crust together. Use a small sharp knife to make a few small cuts into the top of each small pie.
- Preheat your oven to 375°F.
- Chill the pies in the fridge for at least 30 minutes. This helps the crust firm up before baking since it has been sitting out for a while when shaping the pies.
- Brush the tops of the chilled pies with egg wash (or an egg wash substitute) and sprinkle with sugar. I prefer to use turbinado sugar, but white granulated sugar works just fine.
- Bake the pies on the middle rack in the oven at 375°F for 25-35 minutes, or until golden brown and crisp. Some of the filling may ooze out slightly. Let cool for 5-10 minutes before enjoying.
- Store cooled hand pies at room temperature for up to 2 days or in the fridge for up to 5 days.
Notes
- Egg Wash Substitute: To make this recipe eggless, brush the pie crust with melted butter or a little bit of milk and maple syrup. Google "egg wash swaps for pie crust" for more ideas.
- For a stronger ginger flavor, use ½ teaspoon of ground ginger or you can add some freshly grated ginger to the filling mixture.
- Optional: To help prevent soggy bottoms, sprinkle a dusting of all-purpose flour over the bottom crust before adding the filling. This will help soak up extra moisture while the pies bake. You can also sprinkle finely diced nuts over the bottom crust to add a tasty crunch.
LET US KNOW WHAT YOU THINK!
Did you try this ginger pear hand pie recipe? Leave a five ⭐️ review below and tag @bakedabundance on Instagram & Facebook!
Jillian
YUM! Who doesn't love flaky pie crust and a juicy fruit filling?! These were wonderful.
Marley Braunlich
Wooo! So glad these were a hit!
Ella
The pear mixture is sooo gooey and delicious. I made another batch of the filling to serve with oatmeal since everyone loved it so much.
Marley Braunlich
Ooo this sounds delicious Ella! 🙂 This pear filling would be so good in several different recipes. Love the idea of pairing it with oatmeal too.
Luke
I appreciated the easy to follow step-by-step photos as this was my first time making miniature pies. Very tasty!
Marley Braunlich
Happy to hear that the process photos were helpful in assembling these personal pear pies. Enjoy!
Sam
These hand pies are delicious! I love pear and the flavors are amazing. Great recipe!
Marley Braunlich
Yay! So happy to hear you enjoyed these spiced pear hand pies, Sam. Thanks for the review 🙂
Dale
Can you use asian pears instead?
Marley Braunlich
Hey Dale, I have never had an asian pear before. I just saw them at the farmer's market the other day and should have grabbed a few to try! After a quick Google search, I think you could totally use asian pears in this recipe - I would just be mindful of their water content and milder sweetness. Try your pear filling before using it to see if you need to adjust the ingredients (add more cornstarch or sugar etc.!) Enjoy!